How to Plant Garlic
Time to get your garlic planted!
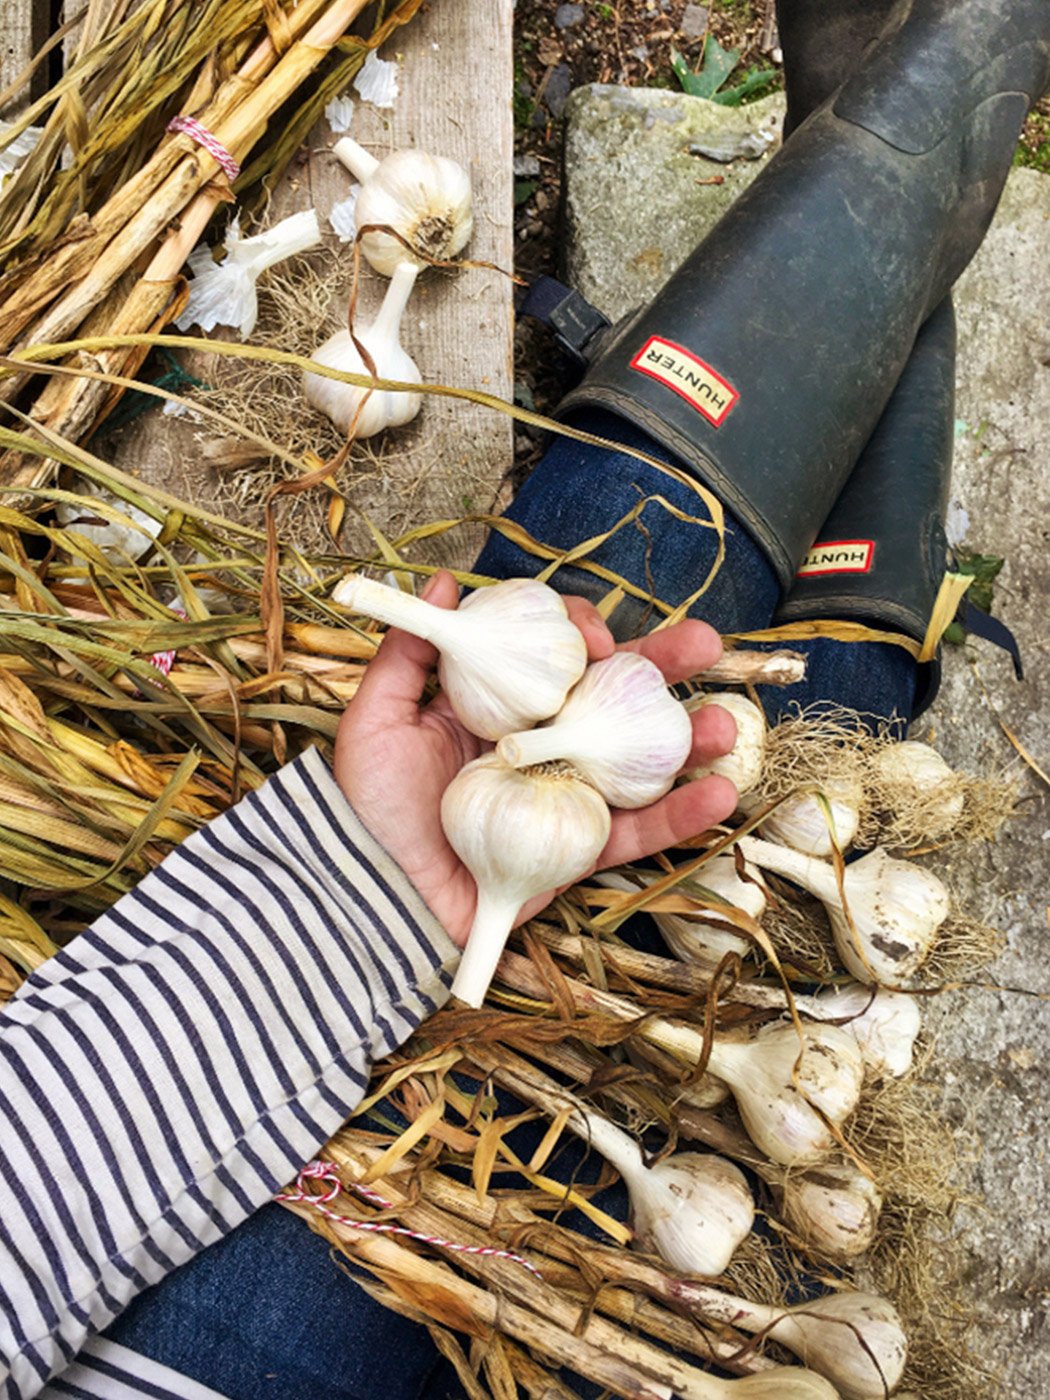
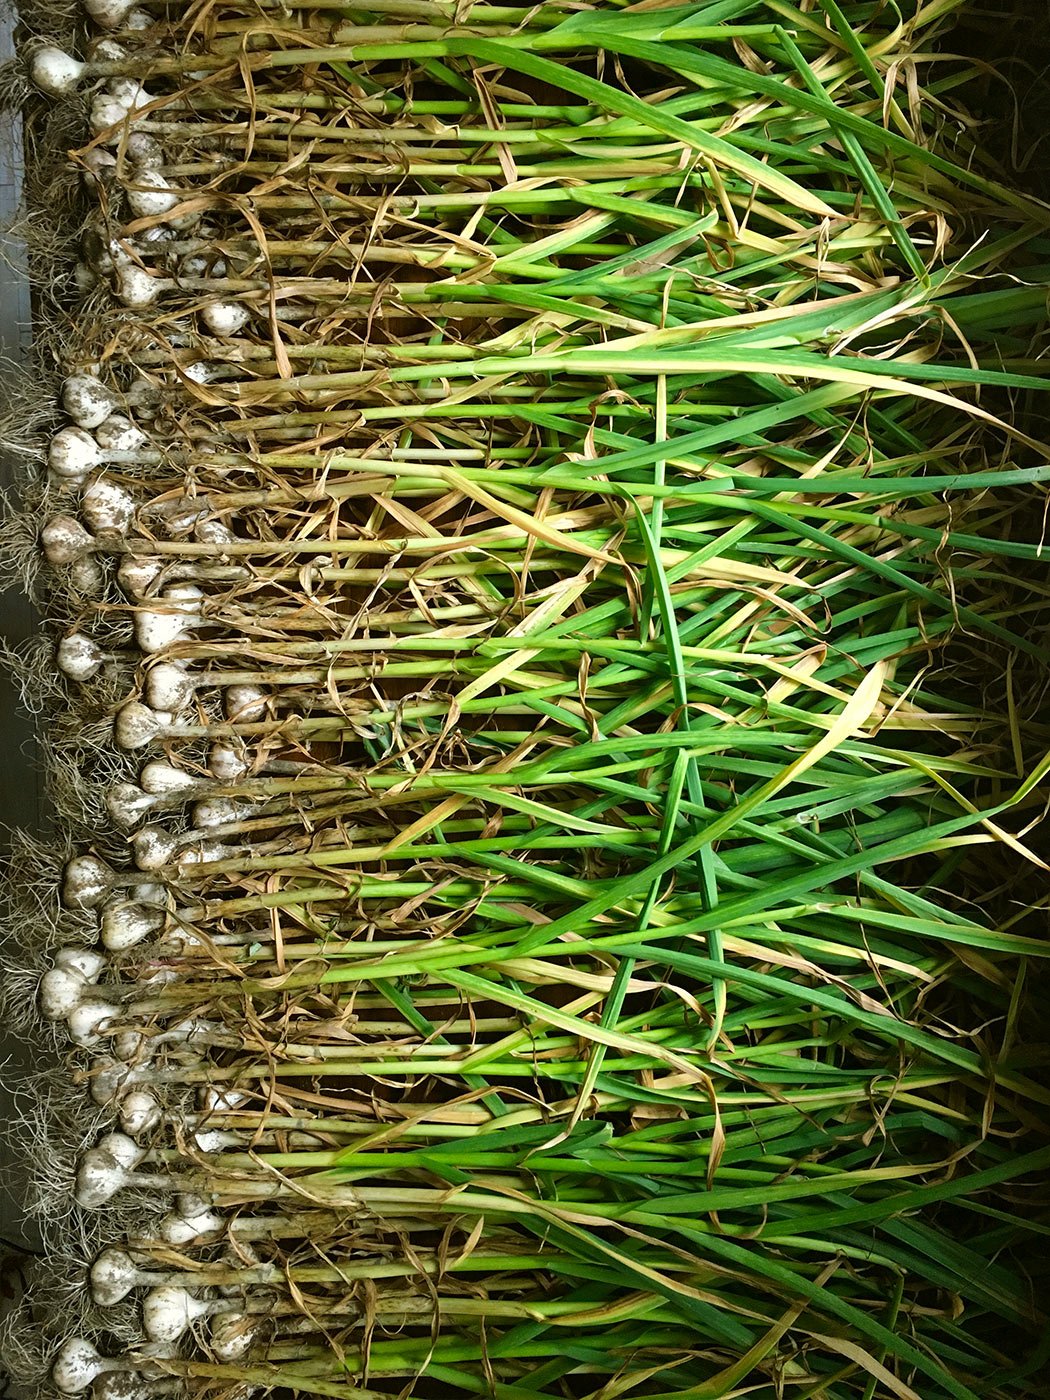
Growing your own garlic spoils you. Once you’ve had your own garden fresh garlic, nothing store bought can ever compare. And then once you start growing it, each passing season you’ll feel the urge to plant more…and more…and more!
There are two true garlic types to grow: Hardneck and Softneck. While there’s also big hulking heads of Elephant Garlic available to sow, technically-speaking, Elephant garlic is not true garlic. It’s probably more of a cousin to garlic. But delicious nonetheless.
Personally I love growing hardneck varieties. They are hardier to our colder climate, tend to be easier to peel, offer brilliant flavor, and best of all, they give you a whole other crop called garlic scapes and if you have not tried one yet, well, let’s just say it’s time you do. It’s pure tastebud bliss.
Softnecks offer the ability to store them in gorgeous braids. They also offer a bit longer storage life, but those artichoke like bulbs can be a bugger to peel.
A few of my favorite varieties to grow are Music, Chesnok Red, German Extra Hardy and German White. This year, I’m very excited to try Italy Hill Giant Ivory.
When to sow your garlic:
• Not too early. Not too late. Ideally 4-6 weeks before the first hard freeze. You want to give your garlic a chance to begin to develop roots, but you don’t want it to sprout its greens yet. Planted too early, the greens will spring forth, making them susceptible to winter’s cold. Garlic also needs to go through a period of cold before it starts its growing process.
• Here in Maine, I aim to plant mine around mid-October. Though truth be told, there have been many years that I’ve gotten my garlic in at the very last second in November, usually with snow arriving the following day. The garlic will grow even when planted that late, you just won’t get as big of bulbs. So best to aim a little earlier before those flakes start to fly.
Tips for prepping your garlic and bed for planting:
• Garlic is a very heavy feeder. Prep each bed with a good heaping of compost. I also mix in some aged chicken manure from our flock of Henny Pennies.
• You’ll need to carefully separate each garlic clove from the bulb, keeping a piece of the bottom core in tack, as well as the delicate, papery skin. If your clove’s outer skin is peeled off, or the bottom exposed, don’t bother planting those cloves as chances are, they won’t grow. Better off to chop them up into dinner niblets.
• Sow 6” apart in rows 6” apart.
• Plant pointy side of the clove up, and push down until just past knuckle-deep. Firmly pat down the soil after planting.
• Before the freeze arrives, mulch your beds. We use shredded leaves as we have more than plenty to go around. But straw and grass clippings are great as well. Top with a good 6-8” layer of mulch.
Cultivate your own personal strain
One of the best things about growing garlic, aside from it being the gift of the gods when it comes to delicious things, is that it is the easiest veg to save seed from. You just take your biggest and best heads of garlic from this summer’s harvest and use those to grow next year’s goodies. And then so on and so one. After a few years, you’ve developed a strain of garlic that is specifically conditioned to grow in your backyard microclimate. In other words, your very own super garlic!
Drop a comment below with your favorite variety to grow!
Try my favorite GARLIC SOUP. It’s a must-make this time of year. Warms you from the inside out.


